Some women tuck their wedding
dresses away, saving them for a future daughter, while others have them framed
to hang in a stairwell or bedroom wall. I refashioned mine.
My wedding was magical, complete
with an ocean sunset, close friends and family, delicious food, dancing, and
even fireworks! These were courtesy of a nearby hotel and totally unrelated
to our wedding, but nonetheless… I loved every minute of it, especially
my gorgeous gown. Wearing it made feel like a movie star, elegant and
glamorous.
Yet, this gown that was so precious
to me sat in the back of my closet for over four years. I guess I never
found an opportunity to wear it again, and as you can tell from the before
photo, it was a bit snug! When this week’s Winter White challenge rolled
around, I knew that it was time to give it a new life.
 |
| I'm really sucking it in here. |
Some of you may disagree with my
decision. It was a difficult choice, and it took me almost half an hour
to make that first cut. Before I began this refashion, I had already
spent a good amount of time thinking it over. I do not regret my
decision. I don’t have a daughter, and even if I did, I would want her to
wear a dress that matched her own style. I don’t have space in my house to
frame a rather long wedding dress. And I don’t want it tucked away
forever, to be forgotten under a bed or in the back of a closet. I want the
spirit of this dress to be part of my everyday life as a reminder of that
spectacular evening that changed my life forever.
Using my measurements, I created a self drafted blouse pattern.
To add a little detail to the blouse, I decided to create a separate shoulder and back piece. I cut these off of the top part of the pattern.
The body was cut from the silk chiffon overlay.
The top detail pieces were cut from the polyester underskirt.
I connected the top pieces to the body using piping that originally outlined the bodice of the dress.
 |
| I stitched very close to the piping. |
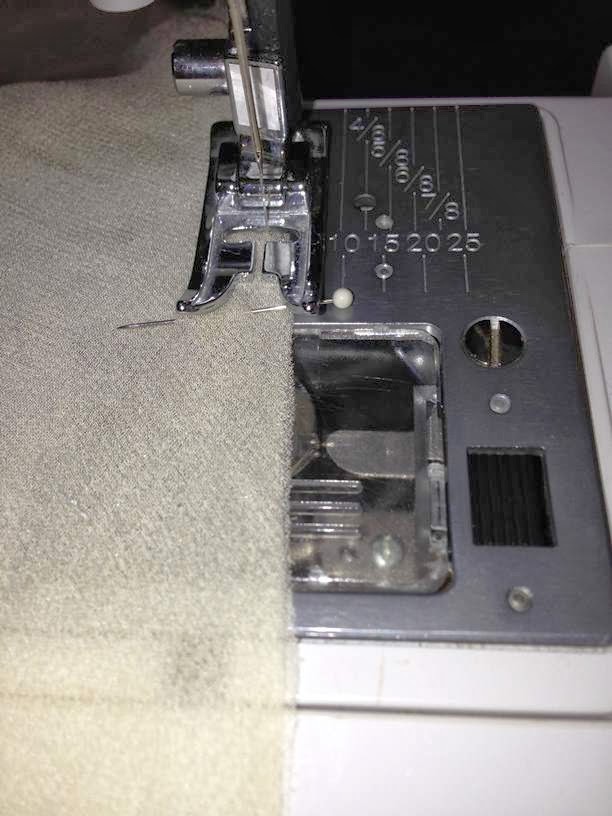
After the top pieces were installed, I sewed the blouse panels together using a French seam.
 |
| Sew seams together with wrong sides facing. |
 |
| Flip seam over, iron it down and stitch with right sides facing. |
 |
| Blouse Front |
 |
| Blouse Back |
The
placket, collar, and sleeve bias were made from the raw silk bodice. To get enough fabric to make these parts of the blouse, I had to piece together the bodice.
I
didn’t have enough of the raw silk for the entire collar, so I improvised and
used the polyester underneath.
 |
| Collar pattern |
 |
| I pinned the polyester and silk pieces together, right sides facing. |
 |
| I stitched around the edges on three sides, leaving the bottom part open. |
Once the collar pieces were attached, I sewed it to the blouse.
 |
| I stitched the polyester side of the collar to the shirt, right sides facing. |
 |
| I then turned the collar over and sewed the silk side, turning down the edges. |
With the collar installed, I created the placket out of the raw silk. Before installing the placket, I added a strip of interfacing to the blouse to create stability. I found that it bubbled if I didn't.
 |
| It's a junk photo, but you can see that I cut the placket out of the raw silk. |
 |
| Placket pieces cut. |
 |
| I stitched the wrong side of the blouse and right side of placket together. | |
|
 |
| I then flipped the placket over and tucked the raw edges under neath. I then stitched it down. |
 |
| Placket installed. |
I had originally planned to add buttons on
the placket, but I couldn’t bring myself to cut buttonholes in the beautiful
raw silk. So, I placed hooks and eyes all the way down the front.
Whew!
 |
| I marked the inside of the placket with a sewing marker, making a dash every 1 1/2 inches. |
 |
| I then stitched on the hooks and eyes, making sure that each one matched up. |
Finally, I added bias, made from the silk bodice, to the armholes.
 |
| I stitched around the edges of the bias, leaving the bottom for last. I then measured and stitched the right sides together before stitching in on the blouse. |
As you can see, this was a long process, but it was well worth it. I am so happy with my wedding dress
refashion. Now I have a special blouse that I can wear out to a nice
dinner or just around town. Don't forget to head over to The Renegade Seamstress and cast your vote for your favorite! Warning: Competition is steep this week.


What a great way to honor your dress. You make a hot couple too!
ReplyDeleteThank you! I wish I could have still fit into the dress. A lot has changed in four years. I really like the idea of honoring the dress.
Deletewow Trish.. you were brave!
ReplyDeleteThanks. I think I did the right thing. It's so hard to keep things nice in Hawaii, and the dress was starting to get rust stains. I didn't want it to ruin sitting in my closet. Now I can wear it again.
ReplyDeleteWhat a gorgeous blouse from a gorgeous dress ... I'm sure it was a labour of love, and it will bring good memories whenever you wear it. Beautiful wedding photos, by the way - just beautiful.
ReplyDeleteThank you for your kind words, Jenny. Completing this challenge brought back wonderful memories of a beautiful day. It was a little hectic, though, because I didn't want to make a mistake.
DeleteTrish, I think you did a beautiful job! I can understand that it was a hard decision to make, but now every time you wear it you will enjoy all those beautiful memories. And, how fun to see a few pictures of your lovely wedding! It's been fun participating in this challenge together. Good luck!
ReplyDeleteWhat a sweet comment, Susan. I'm glad that I refashioned the dress. It was getting ruined by the wet and muggy climate. I've really enjoyed seeing your unique creations. There's nothing you can't sew - even witch spats!
DeleteVery brave, Trish! The end result turned out so, so nice....very clean and professional looking. You did a great job making this completely from scratch! And also, I salute you for putting out such a pretty piece after having a trying week last week. After the terrible time I had this week, I know I was absolutely done... I wouldn't have been able to do another project this week, at least not anything very good. Wonderful job, Trish! :)
ReplyDeleteIt was a hard challenge this week. My hands were shaking at first, and I doubted myself a few times. I'm happy with the outcome. I think you did a terrific job sewing your piece this week. Those fabrics are so difficult, and it looked very well put together. Congratulations for pulling through with a great piece!
Delete